 My Bus Stop
Home Assistant
Your bus stop on your dashboard
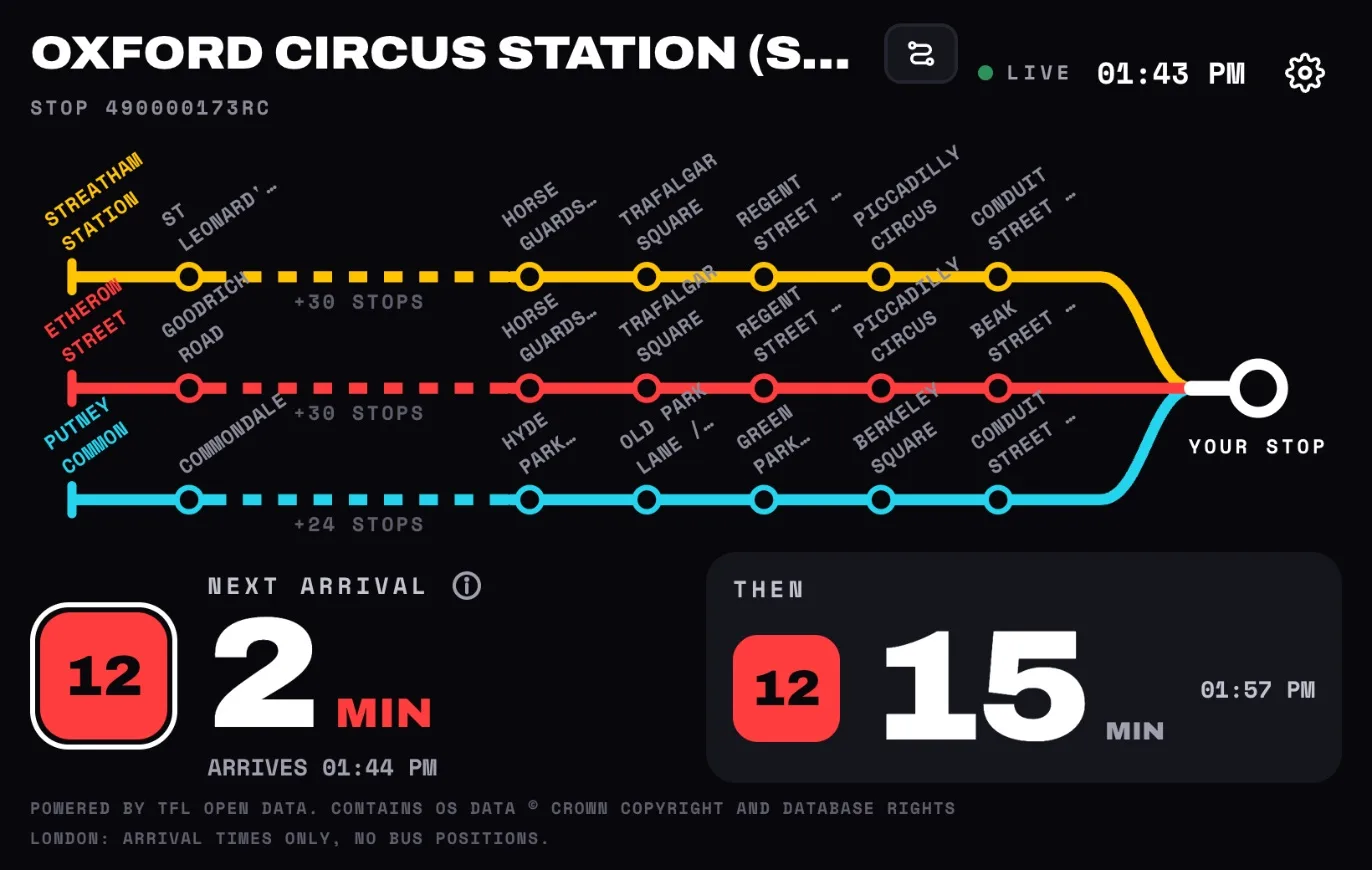
The My Bus Stop card puts the board on a Home Assistant dashboard: the next bus at your stop, the one after it, and the route map. It's free, with no account and no API key.
Install the card
You need HACS, the Home Assistant Community Store. If your Home Assistant can be reached through My Home Assistant, this button opens the card in HACS for you:

Or add it by hand:
- In Home Assistant, open HACS. Go to the ⋮ menu in the top corner and choose Custom repositories.
- Under Repository, enter
https://github.com/hayek/my-bus-stop-card. Under Type, choose Dashboard. Click Add, then close the window. - Search HACS for My Bus Stop, open it and click Download.
- Reload the page in your browser. In the Home Assistant app, pull down to refresh, or close and reopen it.
Add it to a dashboard
- Open a dashboard, click the pencil to edit it, then click Add card. Search for My Bus Stop and choose it.
- The card editor shows the stop picker. Choose your region, then search for your stop by name or code, or tap Find stops near me.
- Tick up to three lines and press Use these lines. The preview beside the editor switches to your board.
- Click Save.
For more than one stop, add one card for each.
Options
The editor sets these for you, or you can write them in the card's YAML:
| Option | What it does |
|---|---|
theme | auto (the default) follows the dashboard's light or dark mode. light and dark keep one, and system follows the device. |
height | The card's height in pixels in masonry and stack layouts. The default is 540. In a sections or panel view, the card fills the space it's given, so resize it there instead. |
board | Your stop and lines. The editor fills it in; there's no need to type it. |
url | Instead of board: a link from ⚙ → Copy link to this board in the web version. |
type: custom:my-bus-stop-card
url: https://amirhayek.dev/MyBusStop/web/#b=z…
theme: dark
The board fits the card's size. When the card is short, the second bus goes first, then the map, and the minutes to the next bus always stay. A wide card shows both buses side by side.
Without HACS
Home Assistant's built-in Webpage card can show a board too, with nothing to install:
- Open My Bus Stop on the web, choose your stop and lines, then choose ⚙ → Copy link to this board.
- In the link, add
?embed=1just before the#, so it reads…/MyBusStop/web/?embed=1#b=…. This shows the board on its own and saves nothing in the browser. To keep it dark, use?embed=1&theme=dark. - Add a Webpage card with that link, or add the same link as a whole dashboard: Settings → Dashboards → Add dashboard → Webpage.
type: iframe
url: https://amirhayek.dev/MyBusStop/web/?embed=1&theme=dark#b=z…
aspect_ratio: 100%
allow: fullscreen; screen-wake-lock
On a wall tablet
Open the board's ⚙ menu and choose Wall mode. The board goes full screen and dark, and keeps the screen awake while it's open: a bus board for a tablet by the front door. Wall mode works in the card and in the Webpage card.
Where it works
Everywhere the web version runs: Israel, Norway, London, Switzerland, Turku, Tampere, the Lisbon area, Rennes, Brussels, Nuremberg, Boston, Minneapolis–St Paul, Toronto, Tokyo and Hong Kong, with live bus positions where the agency shares them. Anywhere else, arrival times come from Transitous, a community service built on transit agencies' open data.
Privacy
- The card sends nothing about your home, your devices or your Home Assistant anywhere.
- Your stop and lines are kept in the card's settings on your Home Assistant. They reach the web version only inside the link, after the
#, which browsers never send to a server, so the site and its analytics never see them. - Arrival times come straight from each transit agency to the browser showing the dashboard. Israel is the one exception: its requests pass through a relay that holds no data about you.
- Find stops near me uses your location once, only if you allow it, and never stores it.
The privacy policy has the details.
Something not working?
- "Custom element doesn't exist: my-bus-stop-card". The browser still has the old page. Reload it. In the Home Assistant app, use Reset frontend cache in the app's settings.
- The card is blank. Make sure the device showing the dashboard is online and can open amirhayek.dev.
- Find stops near me does nothing. The browser or app needs location permission. You can always search by name instead.
Report a problem or suggest something on GitHub. The card's code is open, under the MIT licence.